Tuesday, February 16, 2021

Fun with Yocto and Raspberry Pi: Creating a linux image with all Qt libraries

 If you want to create a linux image with all Qt libraries then you will have to use meta-qt5. This layer needs to be included in the Yocto layer configurations (along with others) to produce an image which will have all the Qt components installed. 

My goal was make a linux image as well start a Qt application when this image boots up. Since there was no window manager, we have to use Qt platform plugins when running our application. At the point of this writing I was unable to make a linux image with eglfs plugin but linuxfb works fine without any issues.

The trick to build and launch your own application on startup is easy if the source code for this application is in a git repository. Yocto makes it lot easier, all you have to do is just create a simple recipe for your custom application.

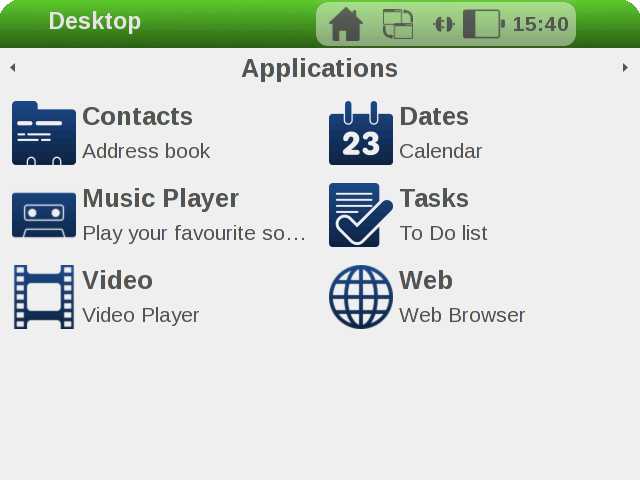
I created a simple UI demo application but with the ability to shutdown, reboot and exit to command line as this applicaton would be running on the Pi in full screen window and the user should have a means to safely shutdown Pi. The link to this repository is HMI Demo

In case anyone is interested how to build and automatically launch an application using Yocto, the recipe looks like this:


Here is the complete video, which shows the process of building the linux image and the application demo as well.


Finally if you are interested you can try out this image yourself on your Raspberry Pi 4. You can download this image from here

Qt5 Linux Image for Pi 4


Fun with Yocto and Raspberry Pi : My first custom embedded Linux image

 I just wanted to get my feet wet with Yocto and create a Linux image which would have a x11 window manager and which was touchscreen friendly. Yocto provides a very easy way to create a Linux image based on the Matchbox window manager. 


Have a look at the first tutorial to see how I went about achieving this goal. Creating your own linux distribution is a valuable skill and will help you to stand out from the crowd.


If you wish to try out the sato image, you can download it from here

https://1drv.ms/f/s!AjVESqXOHzpnigX1UT0k_tqO6a4m


In next blog, I will go more deeper in to customisation and creating a distribution without any window manager.

Monday, February 15, 2021

Fun with Yocto and Raspberry Pi: Would Apple Mac be suitable for development environment?

I thought this may be of use to someone out there. I created two virtual machines, both running Ubuntu OS. I took care to use the Ubuntu version as speficied on the Yocto website for a virtual machine which I labelled as Build. The other one I labelled as Dev which was using latest version of Ubuntu OS and had Qt Creator and all the developer tools installed. The idea was that I will build my custom linux image on the Build virtual machine and develop applications in Qt on the Dev virtual machine. The reason this separation was required because Yocto does not necessarily supports the latest Ubuntu OS which I had found after wasting few weeks. So an environment was required which would have a same release of Ubuntu OS for some time to come.

Here is the screenshot of my mac running these two virtual machines


The Build virtual machine required around 16GB of RAM and 300 GB of free hard disk space. The Dev virtual machine I configured it to use 4GB of RAM. I was able to use Qt Creator without any hiccups on this virtual machine. I also installed Qt on the mac itself just in case for occassional testing purposes.


Saturday, February 13, 2021

Which touchscreen monitor to buy for the Raspberry Pi?

 I already had the official 7'' LCD touchscreen which is suitable for compact UI projects but I was keen to make applications which would offer full gesture support, hence I started looking for bigger displays. I first purchased a Asus 15.6 inch touchscreen display but to my dismay it did NOT work with the Raspberry Pi. This model has a resolution of 1366x768 which was not recognised by Raspberry Pi OS or Ubuntu running on Pi. The build quality was good and it occupied less space on my desk and I thought was perfect for my needs but I had to return it back.

Then my attention focused on iiyama 22inch full hd touchscreen monitor and it worked with Raspberry Pi straight out of the box. I have already posted a video of some sample touch applications running on this monitor in my previous post.


In case you are interested the link is 

https://iiyama.com/gl_en/products/prolite-t2252msc-b1/

https://www.amazon.co.uk/gp/product/B01M2AOHZM/ref=ppx_yo_dt_b_asin_title_o08_s00?ie=UTF8&psc=1

This monitor has scratch proof glass and can be tilted in various angles. Looking forward for new Qt applications now.


Fun with touchscreen applications using Raspberry Pi

When I purchased my Raspberry Pi and the official LCD touchscreen I was always curious if the Pi could have some fancy touch UI applications. I guess daily swiping on my iPhone had perhaps raised my expectation from the Pi. The Pi assembled with the touchscreen looked like a mobile device and the natural tendency was to swipe, pinch and zoom but there were no applications. The Raspberry Pi OS is not exactly touch friendly, hence began my quest to develop some touch based interactions using Qt. I bought a touchscreen monitor and the experience is described below.


I installed Ubuntu Studio on to the Pi itself along with Qt as described in my previous post. I created some QML based applications and the results looked very good. The full hd monitor was connected to the Pi using a HDMI lead and usb touch cable which handled touch inputs.

However installing full blown Ubuntu OS did not seem right. The applications felt sluggish and the touch experience was poor. I realised a custom minimal operating system which would just run my application without any overheads will do the trick here. How we achieve that will be the topic of my future posts.

Please let me know your thoughts below.


How to install Qt on Raspberry Pi?

 The Raspberry Pi is tiny but a very capable device and for those new to embedded programming it offers the ease of building application on the device itself instead of taking the cross compilation route which can be a very daunting process. In the following video I have explained how one can install Ubuntu Studio and Qt on the Raspberry Pi itself. I hope it will be of use to someone.


In subsequent posts I will go in to details of creating a custom embedded linux with full Qt programming environment. Please leave your comments below.


Fun with Yocto, Qt and Raspberry Pi 4: Embedded browser based scalable entertainment and business app

I want to share my experience of how I went about creating a embedded browser based application which would work on a  tiny 7 inch lcd displ...